
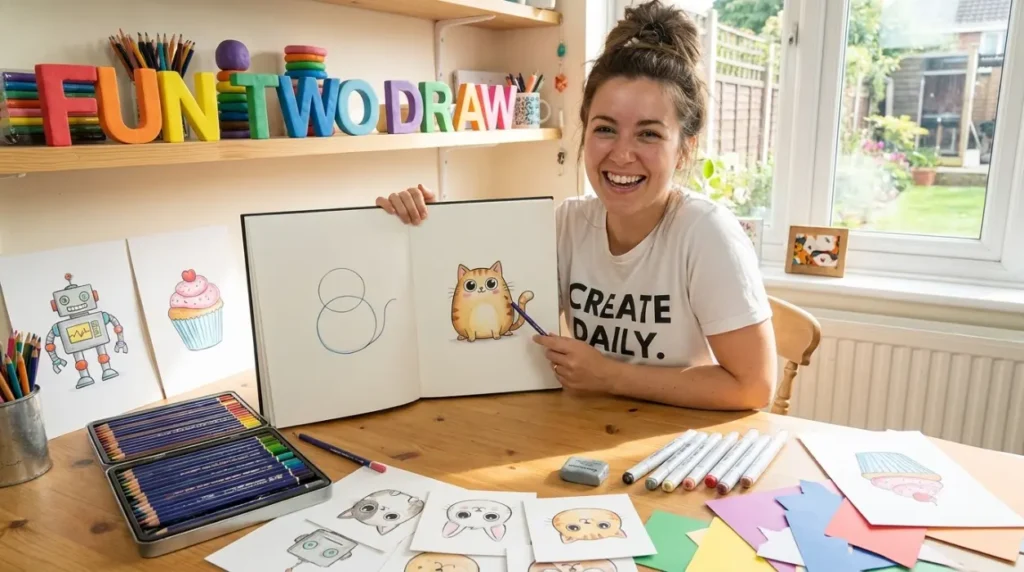
Fun two-draw techniques make learning art enjoyable by breaking complex characters and cute doodles into simple, step-by-step geometric shapes. By focusing on basic proportions, expressive eyes, and easy shading, artists of all skill levels can build confidence while creating vibrant, stylized illustrations.
Have you ever picked up a pencil hoping to sketch something adorable, only to get stuck after a few random lines? A fun two-draw approach can turn drawing from a frustrating task into an exciting creative adventure.
Whether you want to sketch cute food characters, cartoon animals, or playful objects, fun two-draw techniques can help you simplify complex figures. Using basic circles, lines, and shapes makes drawing easier for beginners.
With regular practice, simple sketches can quickly develop personality through expressive eyes, bold details, and creative colors. Breaking each drawing into manageable steps also makes the process more enjoyable.
In this guide, explore easy proportions, step-by-step techniques, and playful creative strategies designed to make drawing feel effortless. Discover fun two-draw ideas and build confidence with every sketch you create.
The Core Foundations of Easy Cartoon Illustration
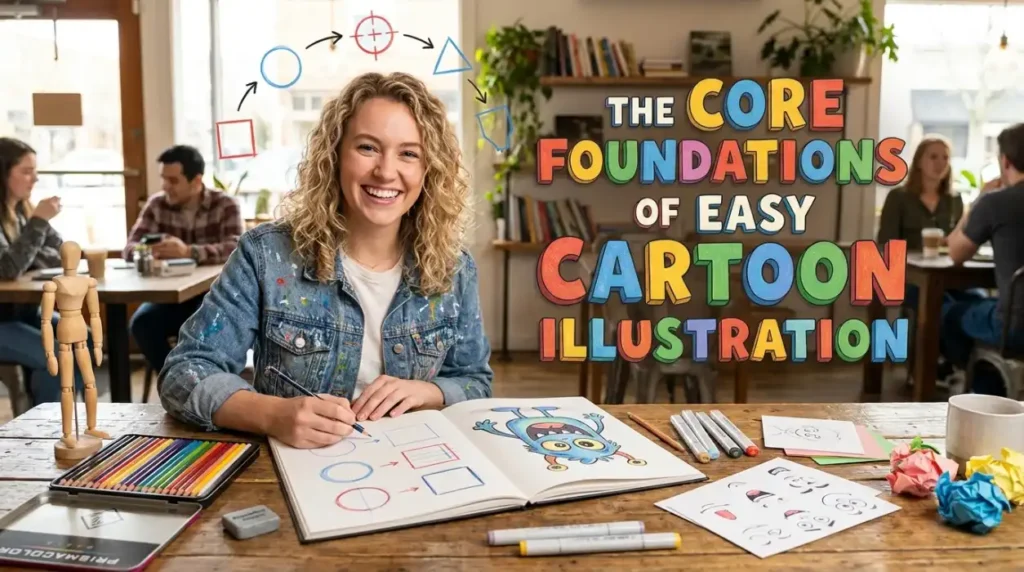
Every impressive illustration starts with fundamental building blocks anyone can master in minutes. When you look at a complex character, training your brain to see basic geometry removes all intimidation.
Deconstructing Complex Characters into Simple Shapes
Professional cartoonists rarely start by drawing finished outlines or intricate details. Instead, they begin with lightweight construction lines made of basic circles, ovals, triangles, and soft rectangles.
When you draw a cute cartoon bear, start by lightly sketching a large circle for the head and a smaller oval for the body. Adding smaller circles for ears instantly creates a recognizable structure long before you ever worry about eyes or fur details.
Master of Proportions: The Secret to Cute Art
The secret behind irresistibly cute character art lies in specific proportional choices that trigger natural feelings of warmth and joy. This aesthetic style relies heavily on exaggerated physical features inspired by real-world infancy.
- Oversized Heads: Making the head roughly equal in size to the entire body creates an instant infant-like appearance.
- Low-Set Facial Features: Position the eyes, nose, and mouth on the lower half of the head circle.
- Short, Rounded Limbs: Keep arms and legs short and stubby without defined muscular angles or rigid joints.
Light Line-Work and Guidelines
Pressing too hard with your pencil during the planning stage is the most common beginner mistake. Dark lines are difficult to erase and can smudge across your clean page.
Use a light hand with an HB or 2B pencil to lay down soft guide lines that act as a temporary roadmap. Once you are satisfied with the overall shape and expression, you can confidently trace over your work with a darker pen or ink marker.
Step-by-Step: Drawing Your First Cute Food Character
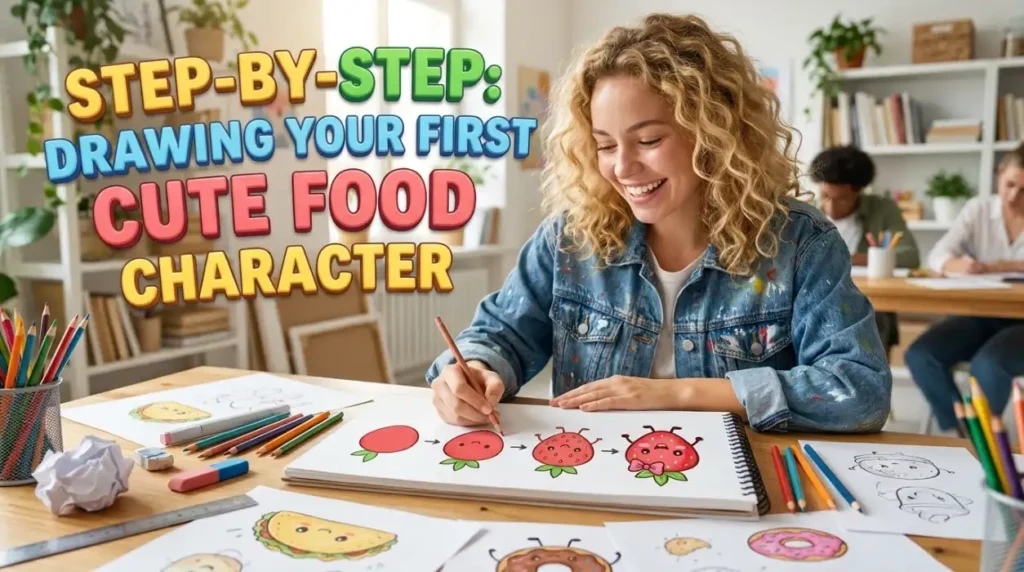
Food items with happy little faces are among the most popular and enjoyable subjects for artists testing out cartoon techniques. Let’s walk through drawing an adorable, smiling ice cream cone step-by-step.
Step 1: Sketching the Structural Base
Start by drawing an upside-down triangle with slightly curved sides in the center of your drawing paper. This inverted triangle forms the crispy waffle cone that supports the scoops above.
Above the open top of the triangle, sketch three overlapping circles that bunch together like soft, fluffy clouds. These circles create the rounded scoops of delicious ice cream resting inside the cone base.
Step 2: Adding Expressive Cartoon Facial Features
Now comes the moment when your drawing transforms into a living character with a unique personality. Place two solid black circles near the middle of the bottom ice cream scoop to serve as big, bright eyes.
Leave two small white dots unpainted inside each black circle to represent reflection highlights, which instantly makes the character look alive. Add a small, cheerful semi-circle curve right between the eyes for an eager, happy smile.
Step 3: Outlining and Refining Details
With the primary shapes established, grab a dark fine-liner pen to trace over your permanent outer contours. Add waffle grid lines across the bottom triangle by sketching soft diagonal lines going in opposite directions.
Erasing your light pencil construction lines leaves behind a crisp, professional black-and-white outline ready for vibrant coloring.
Essential Tools for Beginner Sketching
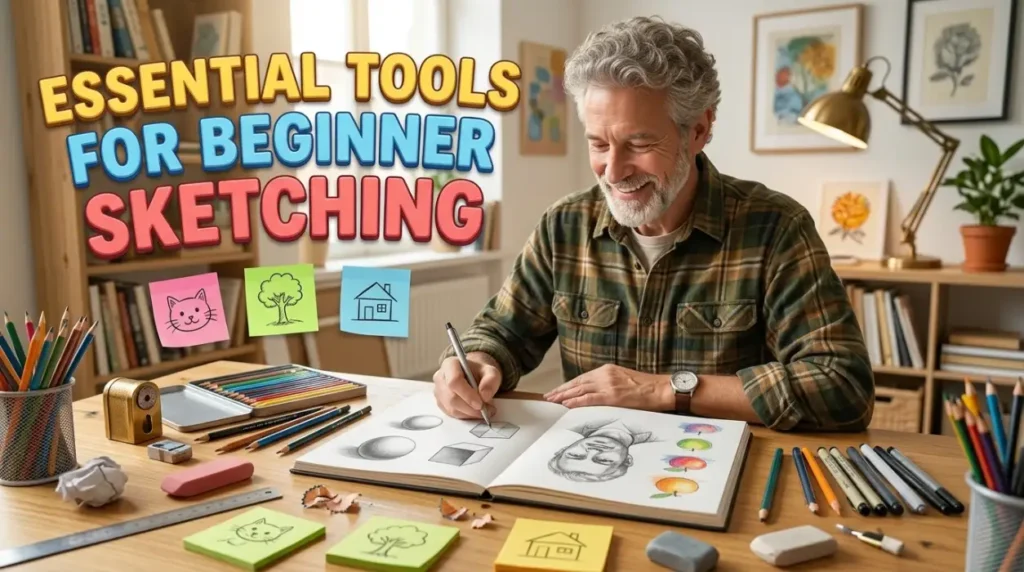
You do not need expensive professional studio supplies to create gorgeous, eye-catching artwork. Starting with simple, reliable tools allows you to focus purely on building muscle memory and artistic confidence.
Choosing the Right Graphite and Erasers
Graphite pencils come in various hardness levels ranging from 9H (hard and light) to 9B (soft and dark). Standard HB pencils provide a perfect middle ground for initial rough sketching and structural guidelines.
Pair your pencils with a soft kneaded eraser or a white vinyl eraser. Vinyl erasers lift dark graphite marks cleanly without damaging or tear-stretching lightweight drawing paper.
Inking and Line Weight Options
Inking transforms loose pencil sketches into bold, clean illustrations that pop off the page. Waterproof fine-liner pens with varying nib sizes give you total control over line thickness.
Using thicker lines around the outside edges of your character makes it look sturdy, while using thinner lines for inside details like mouth curves and eyes keeps the artwork clean and readable.
Key Principles of Cartooning Success
Understanding a few basic art rules makes your character sketches look dynamic rather than flat or lifeless. Applying these concepts systematically improves your work instantly.
How to Draw Dynamic Expressive Eyes
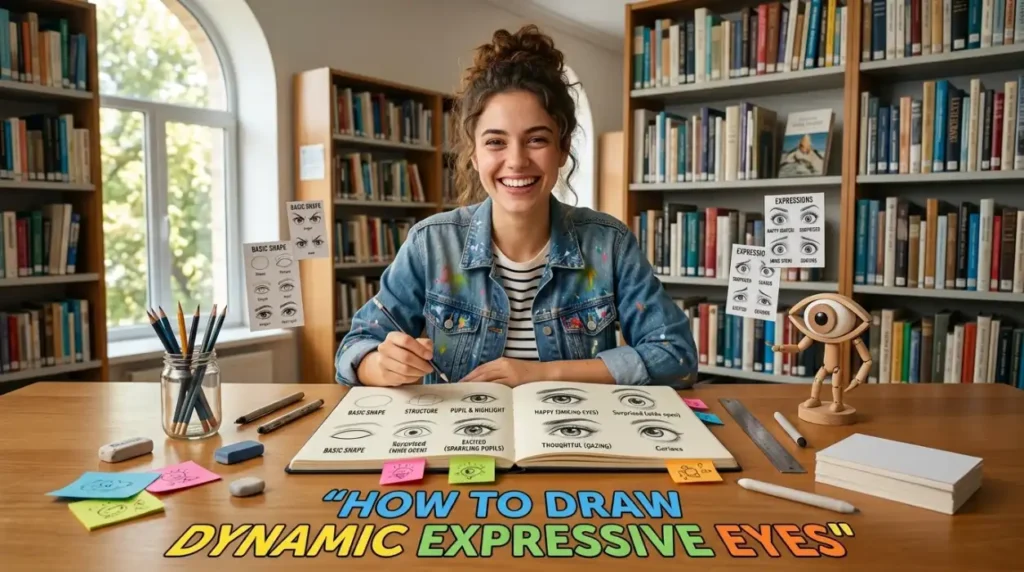
Eyes carry the vast majority of emotional communication in cartoon art. Mastering a few subtle variations in eye shapes lets you convey a vast range of feelings effortlessly.
The Joyful Sparkle Eye
To draw a joyful, excited expression, start with large oval pupils that occupy nearly half of the character’s facial area. Fill the pupil in with solid dark ink, leaving two or three overlapping white circles near the top edge.
Adding small, upward-curving crescent lines right underneath the eyes mimics natural cheek lifts that happen during genuine smiles.
The Sleepy or Bored Look
For a calm, relaxed, or unimpressed mood, change the top contour of the eye from a round arch into a flat horizontal line. Draw half-circle pupils that sit partially hidden under the upper eyelid line.
A soft, lazy curve for the mouth completes the look, making your character appear completely unbothered and peaceful.
Shock and Astonishment
Surprise is one of the easiest emotions to capture because it relies heavily on extreme exaggeration. Draw two perfect, wide circles with tiny pinpoint dots centered in the middle for pupils.
Leave a generous amount of empty white space around the tiny pupils to create an instant wide-eyed shock effect.
Adding Depth with Easy Shading Techniques
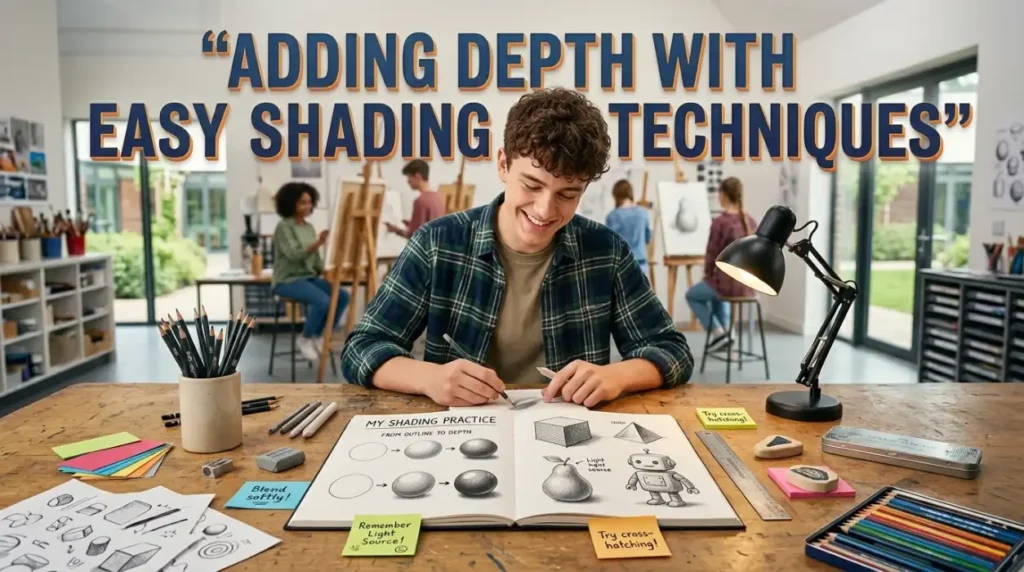
Shading converts flat two-dimensional sketches into believable three-dimensional figures with real volume and weight. You do not need complex realistic rendering skills to achieve stunning visual depth.
Establishing a Fixed Light Source
Before applying any shadows, decide where the light source in your scene is coming from. Imagine a small glowing sun sitting at the top right corner of your drawing page.
All surfaces facing toward that imaginary light will feature bright highlights, while every surface facing away from it will catch soft dark shadows.
Cell Shading Simplified
Cell shading is a classic animation technique that uses clean, sharp-edged blocks of color to represent shadow areas instead of smooth gradients. It is fast, easy to learn, and looks incredibly sharp on cartoon characters.
Identify the edge furthest from your imaginary light source and sketch a clean boundary line along that shadow zone. Fill that region with a color that is one shade darker than your base character color.
Soft Blending with Colored Pencils
If you prefer smooth transitions over sharp cell shading, colored pencils offer incredible flexibility. Apply light, overlapping circular motions along shadow zones to build up color intensity gradually.
Layering a cool blue or purple shade lightly over warm base colors creates rich, realistic shadows that add sophisticated atmosphere to your page.
Practice Exercise
Test your knowledge of basic cartooning principles, line weights, and character proportions with these 5 multiple-choice questions.
- Which basic geometric shapes should an artist use first when constructing a loose cartoon sketch?
A. Intricate detailed outlines and final shading patterns.
B. Simple circles, ovals, triangles, and soft rectangles.
C. Perfect sharp squares and dark rigid straight lines.
D. Completed facial features and detailed hair textures. - What proportional choice helps make a cartoon character look extremely cute?
A. Drawing small heads with long, muscular legs and arms.
B. Keeping the eyes near the top edge of the skull.
C. Making the head large relative to the body with low-set eyes.
D. Using sharp, angular lines for all facial features. - Why should you leave tiny white circles unpainted inside a character’s dark pupil?
A. To show that the character is tired and sleeping.
B. To create light reflection highlights that make eyes look alive.
C. To divide the pupil into equal mechanical quarters.
D. To prepare the drawing for digital scanning processes. - What is the purpose of varying line weight in cartoon artwork?
A. It makes all parts of the drawing look flat and identical.
B. It saves ink by keeping lines as thin as possible everywhere.
C. It adds visual depth, structure, and character separation.
D. It hides mistake lines without requiring an eraser. - How does cell shading differ from smooth gradient blending?
A. It uses clean, solid blocks of color with sharp edges for shadows.
B. It requires using water-based paint rather than pencils.
C. It eliminates the need for establishing a light source.
D. It is only used for realistic architectural portraits.
Answer Key:
- B
- B
- B
- C
- A
FAQs
What is the easiest thing to draw for absolute beginners?
Cute food characters, simple fruits, and blob-style animals are the easiest starting subjects. Their basic geometric bases allow you to focus on line confidence and facial expressions without struggling with complex anatomical proportions.
Should I practice drawing with a pencil or a pen first?
Starting with a soft graphite pencil is ideal because it lets you sketch loose guidelines and fix mistakes effortlessly. Once your initial structure looks good, switching to a dark fine-liner pen provides clean, permanent outlines.
How can I stop my hands from shaking while inking lines?
Pull your pencil or pen toward your body using smooth motions from your shoulder rather than twisting your wrist. Drawing briskly and confidently actually creates smoother, cleaner lines than moving very slowly with a tight grip.
What kind of paper works best for cartoon sketching?
Smooth, heavyweight drawing paper or sketchbook paper around 70lb to 90lb works best for pencil and ink. Smooth paper surfaces prevent fine-liner pen tips from snagging, allowing your ink to glide effortlessly without bleeding.
How do I make my cartoon characters look less stiff?
Incorporate a curved “line of action” through the core body shape before adding limbs or details. Posing your character along an energetic curve adds natural motion, rhythm, and life to the overall sketch.
Can I learn how to draw well without natural artistic talent?
Yes, drawing is a mechanical skill built through consistent practice and spatial observation rather than pure natural talent. Learning how to break complex objects down into basic shapes allows anyone to draw incredible illustrations over time.
Conclusion
Mastering a simple, fun two-draw approach proves that anyone can pick up a pencil and create delightful, character-filled illustrations. By breaking down complex figures into basic geometric shapes, managing proportions, and adding expressive eyes, you transform blank pages into vibrant artwork effortlessly.
Remember that building creative skills is a rewarding journey filled with discovery, personal growth, and daily joy.
Keep your drawing tools handy, practice basic shapes regularly, and enjoy bringing your unique imagination to life on paper!

Jack Olive is the creative mind behind buzzgiggles.com, a fun-focused website built to bring smiles, laughter, and lighthearted entertainment to everyday life. With a passion for humor and enjoyable content, Jack Olive creates and shares playful ideas, amusing stories, entertaining discoveries, and cheerful moments designed for readers of all kinds.
Through buzzgiggles.com, Jack Olive combines creativity, curiosity, and a positive sense of humor to explore the lighter side of life. Whether visitors are looking for a quick laugh, something interesting to share, or a cheerful break from their routine, the website offers content created with fun in mind. Jack Olive believes great entertainment should be easy to enjoy, memorable, and capable of brightening someone’s day.