
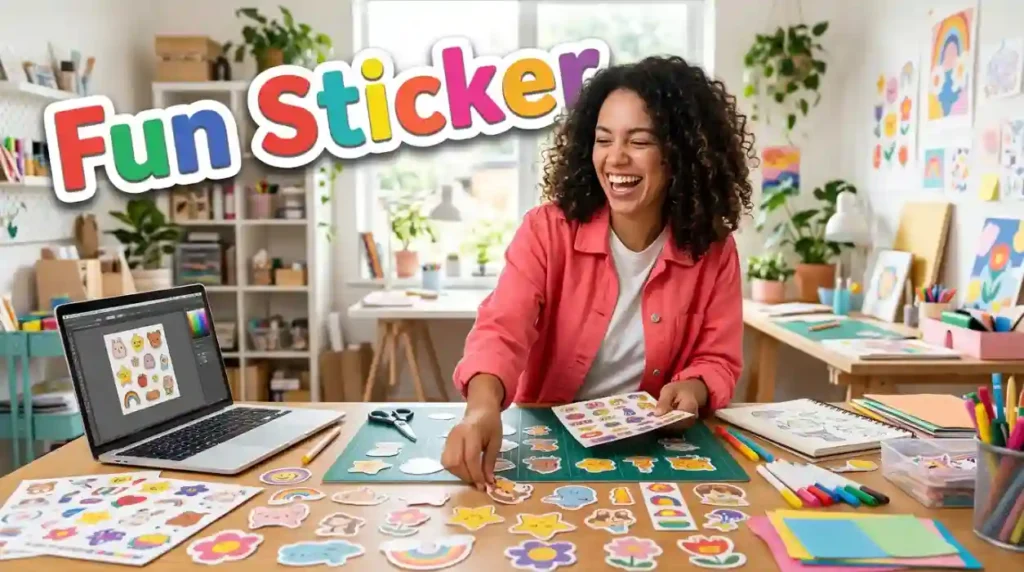
A fun sticker is a decorative self-adhesive label made from vinyl, paper, or holographic film featuring playful artwork, witty slogans, or pop-culture graphics. Beyond personalizing water bottles, laptops, and journals, these durable decals allow individuals to express their creative identity, display humor, and customize everyday belongings effortlessly.
Have you ever looked at your plain laptop lid or reusable water bottle and felt like it was missing personal flair? Adding a colorful, fun sticker is one of the easiest ways to turn boring everyday items into personalized artistic statements.
Decals do far more than just cover scratches on your favorite gear.
Slapping a vibrant, fun sticker onto your journal, phone case, or skateboard instantly tells the world a story about your personality and hobbies.
Are you ready to see how picking the right fun sticker can turn ordinary personal items into eye-catching conversation starters? Let’s explore sticker materials, placement ideas, custom printing methods, and residue-free removal tricks together!
The Fascinating Evolution of Adhesive Decals in Popular Culture

Adhesive labels were originally invented for strictly industrial purposes, such as tracking shipping crates and labeling medical bottles. Over the past century, artists, political activists, and lifestyle brands transformed sticky labels into powerful mediums for self-expression and subculture art.
Understanding the history behind decorative decals reveals why collecting them has become a passionate global hobby.
It connects modern laptop decoration to a rich tradition of street art and personal branding.
From Forest Fruit Labels to Bumper Art
In the nineteen-thirties, an entrepreneur named R. Stanton Avery developed the world’s first self-adhesive die-cut labels using paper, glue, and silicone release backing. Fruit growers quickly adopted these sticky tags to identify farm produce, replacing old-fashioned wet glue labels.
By the mid-twentieth century, political campaigns and tourist attractions began printing colorful promotional slogans on vinyl strips.
Car owners slapped these early bumper decals across vehicle trunks to show off vacation destinations and political support.
The Rise of Skateboarding, Street Art, and Laptop Culture
During the nineteen-seventies and eighties, skateboard companies revolutionized graphic decals by distributing free artistic stickers with every board purchase. Skaters slapped these bold graphics across wooden ramps, street signs, and helmets to mark their local territory.
When portable laptops, tablet screens, and stainless steel water bottles became everyday essentials, sticker culture expanded into coffee shops and university classrooms.
Today, decorating personal technology allows people to showcase their humor, aesthetic taste, and social causes without saying a single word.
Exploring Sticker Materials, Finishes, and Durability
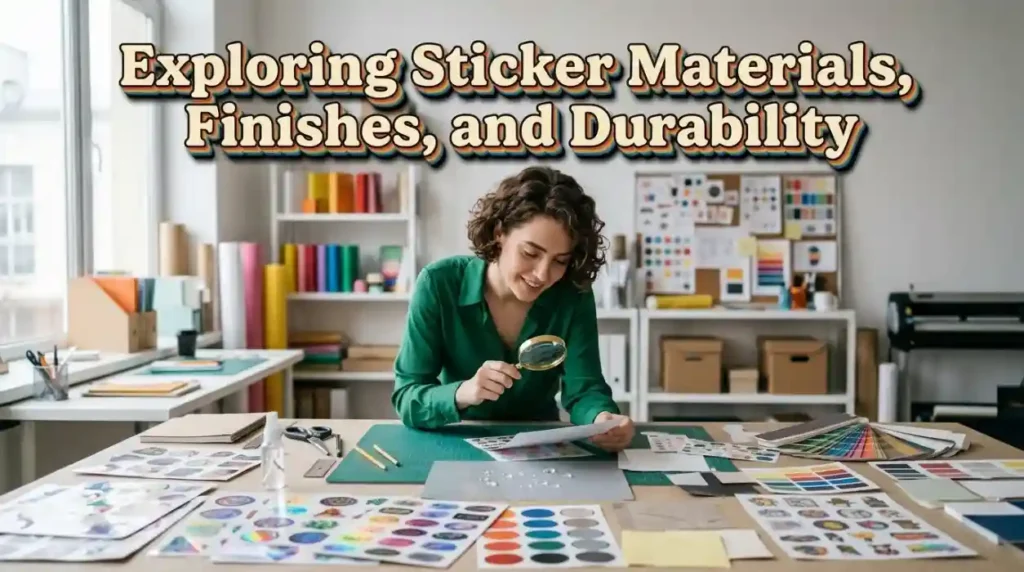
Not all adhesive graphics are manufactured the same way, and choosing the wrong material can leave you with faded ink or peeling paper edges. Understanding the physical differences between paper, vinyl, and specialty laminates ensures your decorative art stays vibrant for years.
Matching your material selection to your intended surface environment prevents frustrating wear and tear.
Here is a helpful summary comparing popular decal materials, surface finishes, and ideal placement locations.
Vinyl vs. Paper: Choosing the Right Base Material
Paper-based adhesives are inexpensive and work wonderfully for indoor applications like paper planners, bullet journals, and scrapbooks. However, paper absorbs moisture rapidly, causing ink to bleed and paper fibers to shred if exposed to water or rain.
Vinyl decals are crafted from durable polyvinyl chloride (PVC) sheets engineered to withstand harsh outdoor conditions.
High-grade vinyl resists sun fading, dishwashing water jets, and rough handling, making it the gold standard for long-term gear decoration.
The Magic of Holographic and Metallic Specialty Films
If you want your gear to catch sunlight and shift colors as you move, specialty holographic materials offer stunning visual effects. Holographic films reflect light across a rainbow spectrum, giving metallic illustrations, space designs, and retro typography an ethereal glow.
Glitter laminates introduce subtle sparkling flecks over printed ink, adding texture to cartoon characters and floral patterns.
Clear transparent vinyl allows designs to blend seamlessly onto glass windows, computer screens, and clear phone cases without white borders.
Creative Placement Ideas to Upgrade Your Everyday Belongings

Once you start collecting graphic decals, deciding where to place them becomes an exciting creative challenge. Arranging graphics thoughtfully transforms plain possessions into curated art pieces that reflect your unique lifestyle.
Whether you prefer a minimal single-point design or a chaotic collage, thoughtful placement makes all the difference.
Let’s look at four popular canvas surfaces and how to style them effectively.
1. Water Bottles and Travel Mugs
Hydro flasks, tumblers, and stainless steel water bottles serve as prime display real estate for outdoorsy, vibrant graphic decals. Because travel mugs undergo frequent hand washing and physical bumping inside backpacks, use only thick, waterproof vinyl graphics.
Arrange your graphics in a staggered vertical pattern around the bottle, leaving tiny gaps so the metallic background shines through.
Wrap clear packing tape over cheaper paper labels if you want temporary protection against hand moisture.
2. Laptops, Tablets, and Hard-Shell Computer Cases
Decorating the back lid of a laptop or hard tablet case is a classic ritual for students, remote workers, and creatives. Some people align their decals neatly in grid formations, while others overlap graphics completely to create a dense collage effect.
If you plan to resell your laptop later, apply your graphics directly to a removable snap-on hard plastic shell rather than the aluminum body.
This protects your device’s resale market value while letting you customize your workstation style freely.
3. Skateboards, Helmets, and Sports Gear
Skateboard decks, snowboards, bicycle frames, and sports helmets take heavy physical abuse during outdoor sessions. Applying heavy-duty die-cut vinyl graphics adds personality to your sports equipment while protecting painted metal surfaces from light scratches.
Place your largest rectangular graphics in the center of your deck or frame, filling surrounding spaces with smaller accent shapes.
Outdoor UV laminates prevent bright colors from bleaching under direct desert sunlight.
4. Planners, Bullet Journals, and Mail Correspondence
Indoor paper crafting relies heavily on decorative paper seals, masking tapes, and stamp designs to organize daily schedules. Using small functional icons inside your daily planner helps categorize tasks, track fitness goals, and highlight upcoming appointments visually.
Decorating handmade birthday cards and envelope seals with cute thematic graphics adds a heartwarming, personal touch to mail correspondence.
Paper crafting allows you to experiment with vintage textures and watercolor designs without worrying about weather damage.
How to Create and Print Your Own Custom Decals at Home
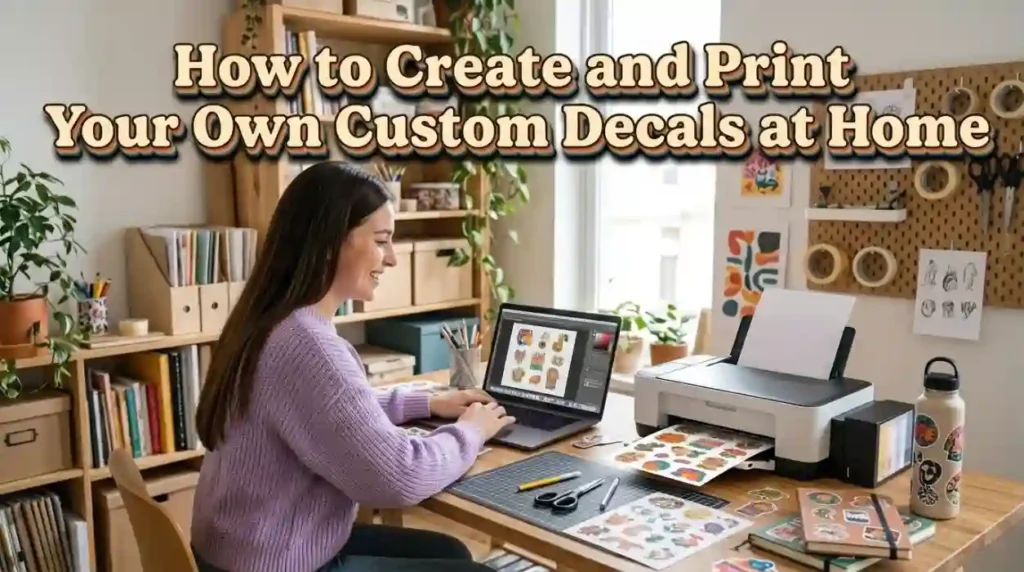
You do not need an industrial printing press to transform your digital drawings, photos, and funny jokes into custom physical graphics. With a standard desktop inkjet printer and a pair of sharp craft scissors, you can set up a home printing station in an afternoon.
Designing your own graphics lets you print custom gifts for friends, family members, and local club teammates.
Here is a simple step-by-step guide to producing high-quality DIY decals at home.
- Design Your Artwork: Draw original illustrations in digital painting apps or arrange custom photos inside graphic design software.
- Select Quality Printable Vinyl: Load your desktop inkjet printer with glossy or matte printable vinyl sheets rather than basic sticker paper.
- Print at High Resolution: Adjust your printer quality settings to “Photo Quality” or “High Detail” to ensure crisp graphic lines and rich color depth.
- Apply a Protective Clear Laminate: Smooth a self-adhesive clear laminate sheet over your printed vinyl to seal ink against water and scratches.
- Cut Out Your Designs: Use a craft knife, sharp scissors, or an automated digital die-cutter to cut around your graphic outlines smoothly.
Pro Removal Hacks: How to Remove Stickers Without Sticky Residue
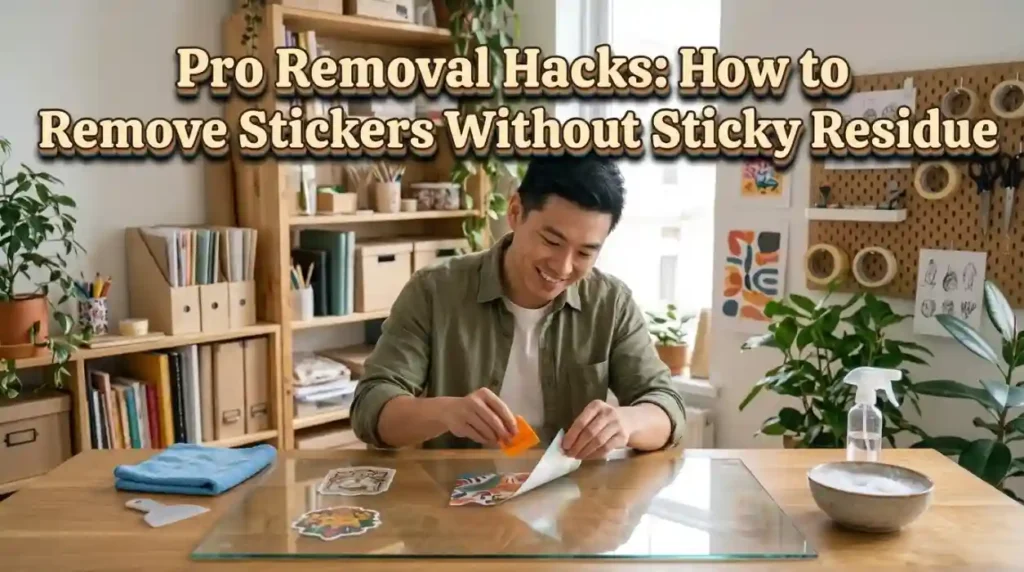
One of the biggest fears people have when decorating expensive items is leaving behind ugly, sticky adhesive residue later on. Over time, heat and pressure harden chemical adhesives, fusing graphics firmly to plastic, glass, and metal surfaces.
Using proper heat and gentle solvent techniques allows you to peel off old graphics cleanly without scratching sensitive surfaces.
Here are four safe, effective methods to remove stubborn adhesive residue from your gear.
Method 1: The Hairdryer Heat Softening Trick
Applying gentle heat is the safest way to loosen hardened adhesive bonds on laptops, glass windows, and water bottles. Hold a standard hairdryer roughly four inches away from the decal, blowing warm air over the surface for thirty seconds.
The gentle thermal heat softens the acrylic glue underneath, allowing you to lift a corner with your fingernail and peel the graphic off smoothly.
This method leaves minimal adhesive residue behind on metal and hard plastic surfaces.
Method 2: Rubbing Alcohol and Cooking Oils
If sticky glue residue remains on your gear after peeling off the top film, household solvents will dissolve the glue rapidly. Saturate a cotton ball with isopropyl rubbing alcohol or standard olive oil and press it against the sticky patch for two minutes.
The liquid breaks down the chemical bonds of the glue, allowing you to wipe the residue away using a soft microfiber cloth.
Wash the area with warm soapy water afterward to remove any remaining oil films.
Practice Exercise
Test your knowledge of decal history, vinyl materials, crafting techniques, and residue removal with this quick five-question multiple-choice quiz.
- What physical material is considered the gold standard for waterproof, outdoor-durable decals?
A. Uncoated natural paper
B. High-grade polyvinyl chloride
(PVC) vinyl
C. Thin newsprint paper
D. Cardboard cardstock - Who invented the world’s first self-adhesive die-cut labels in the nineteen-thirties?
A. Alexander Graham Bell
B. R. Stanton Avery
C. Thomas Edison
D. Nikola Tesla - Which protective layer should be applied over printed home vinyl sheets to prevent water damage and sun fading?
A. A layer of wet white glue
B. A clear self-adhesive laminate sheet
C. A coat of dark house paint
D. Cooking spray oil - How does gentle heat from a hairdryer help remove old decals from laptops and water bottles?
A. It melts the plastic metal body completely
B. It softens the hardened acrylic glue underneath, allowing easy peeling
C. It turns the ink into clear water
D. It makes the decal fly away automatically - Which decal finish reflects a full rainbow color spectrum when light hits its surface?
A. Plain paper matte
B. Holographic film
C. Uncoated brown kraft paper
D. Chalkboard paint finish
Answer Key:
- B
- B
- B
- B
- B
FAQs
Are vinyl graphic decals safe to put through a dishwasher?
High-quality vinyl graphics featuring a clear protective laminate coating are generally dishwasher safe on top racks. However, hand washing your decorated water bottles extends the lifespan of the graphics and prevents edge lifting over time.
How do I stop air bubbles from forming under large decals during application?
Clean the application surface thoroughly with rubbing alcohol and dry it before applying your graphic. Peel back one edge of the backing paper, press it down, and use a plastic credit card to smooth the vinyl slowly across the surface.
Will applying vinyl graphics to a laptop lid ruin its resale value?
Applying graphics directly to an aluminum laptop body can leave subtle glue outlines or sun-fading shadows over several years. To protect resale value, apply graphics onto a removable hard plastic laptop shell case instead.
Can I reuse a vinyl decal after peeling it off my water bottle?
Most standard pressure-sensitive vinyl decals stretch and lose their adhesive strength once peeled off a surface. However, specially manufactured static-cling decals or heavy magnetic graphics can be repositioned and reused multiple times.
What is the difference between die-cut and kiss-cut decals?
Die-cut decals are sliced completely through both the vinyl layer and paper backing, matching the exact shape of the design artwork. Kiss-cut decals cut through only the top vinyl layer, leaving a square paper backing border around the removable design.
Conclusion
Decorating your world with a creative, fun sticker is a joyful, inexpensive way to express your personality, artistic tastes, and humor. From waterproof vinyl water bottle graphics to holographic planner icons and custom DIY crafts, adhesive art brings personal flair to everyday items.
Remember that self-expression is all about having fun and showcasing what makes you unique.
Grab your favorite graphics today, pick out a blank canvas, and start styling your gear with confidence!

Jack Olive is the creative mind behind buzzgiggles.com, a fun-focused website built to bring smiles, laughter, and lighthearted entertainment to everyday life. With a passion for humor and enjoyable content, Jack Olive creates and shares playful ideas, amusing stories, entertaining discoveries, and cheerful moments designed for readers of all kinds.
Through buzzgiggles.com, Jack Olive combines creativity, curiosity, and a positive sense of humor to explore the lighter side of life. Whether visitors are looking for a quick laugh, something interesting to share, or a cheerful break from their routine, the website offers content created with fun in mind. Jack Olive believes great entertainment should be easy to enjoy, memorable, and capable of brightening someone’s day.